Once you've finished the above, you might be wondering how you can extend this animator to do some other things. Movement is important, but we all know there's more animations.
1. Trigger Animations
Trigger parameter controlled animations are perfect for one shot events like talking, looting, attacks, or interacting with an object and are pretty quick to setup with ORK.
For this example, I'm using a talk animation taken from Mixamo but the same principles apply to any one shot you'd like to happen. Setup your animation fbx if needed as you did in the previous tutorials.
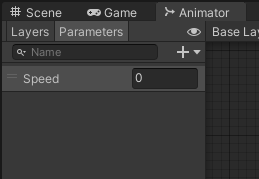
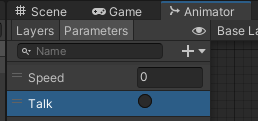
Add a new trigger parameter (triggers are circles, bools are squares):
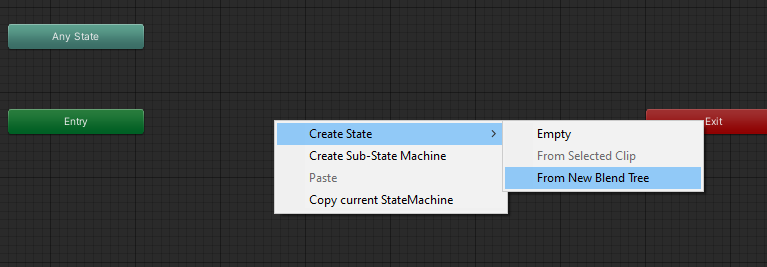
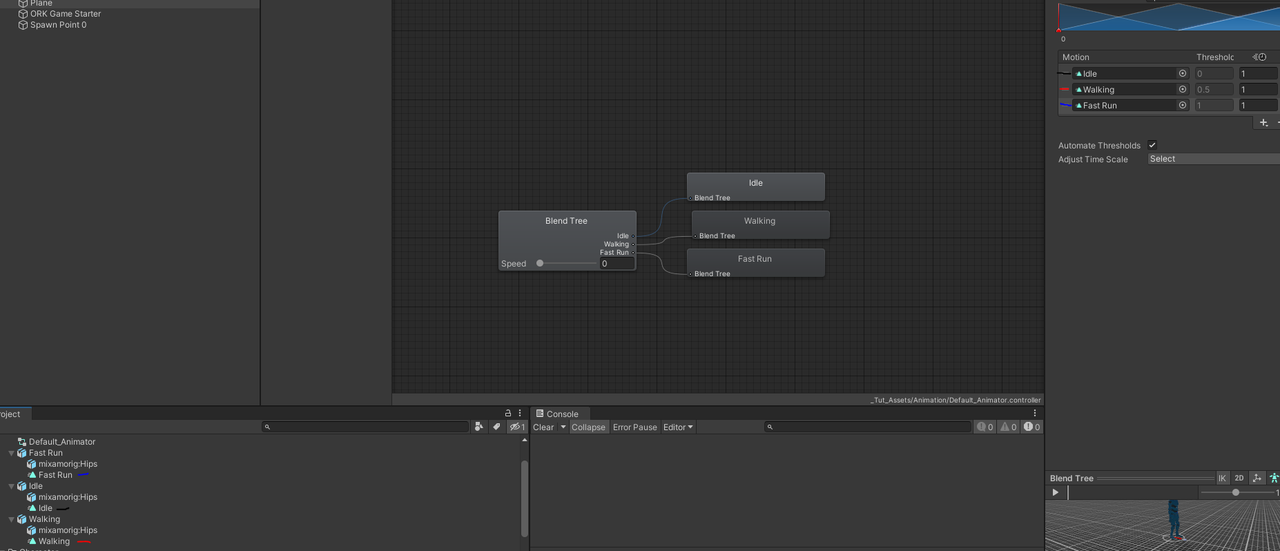
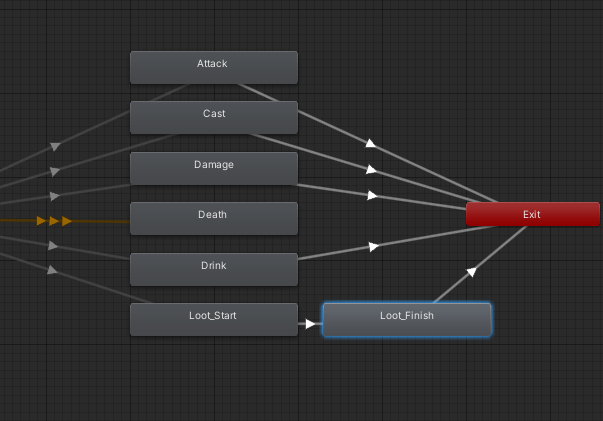
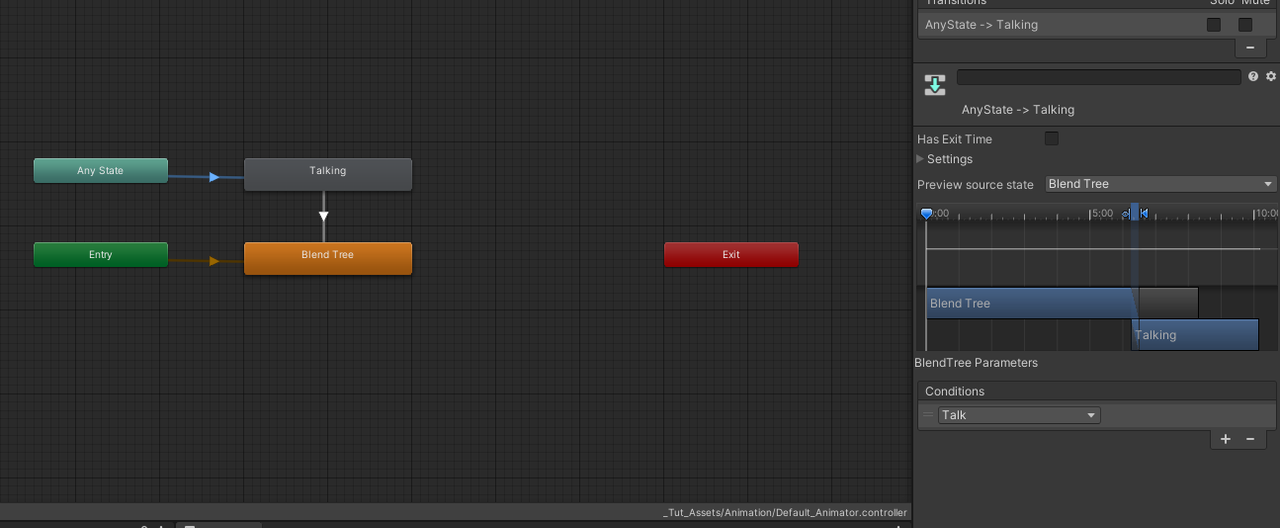
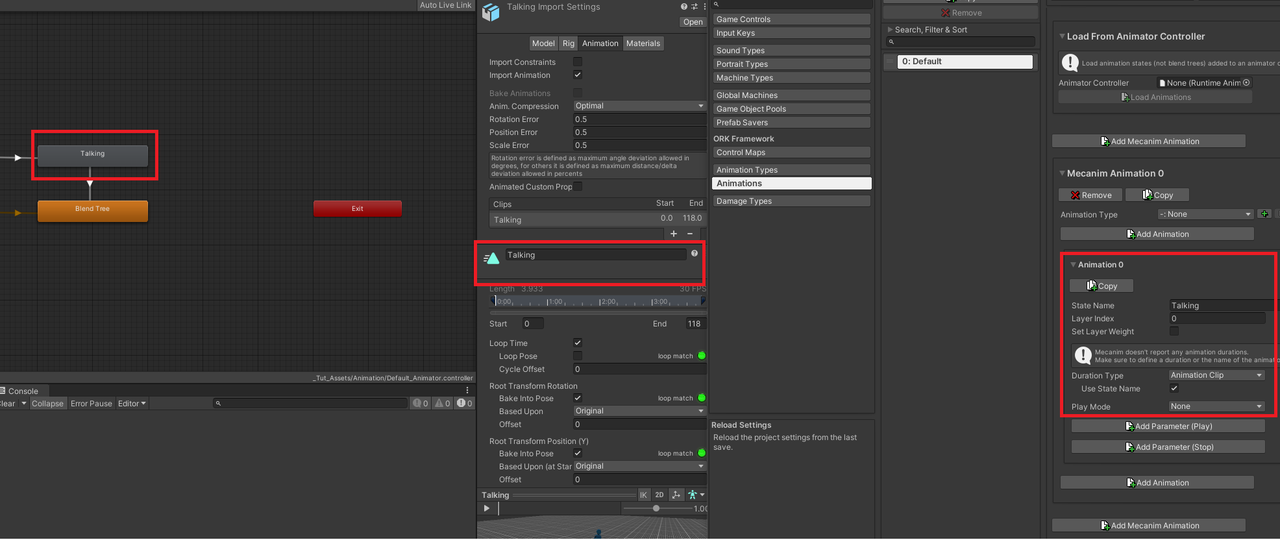
Add your animation to the base layer state machine (just drag and drop your animation FBX), and then create a transition from Any State to this animation. (Right click Any State, pick make transition and then click your animation), and follow it up with a transition back to your blend tree like so:

Click on your Any State to Talking transition line, and ensure Has Exit Time is unchecked along with adding your trigger parameter Talk as the condition:
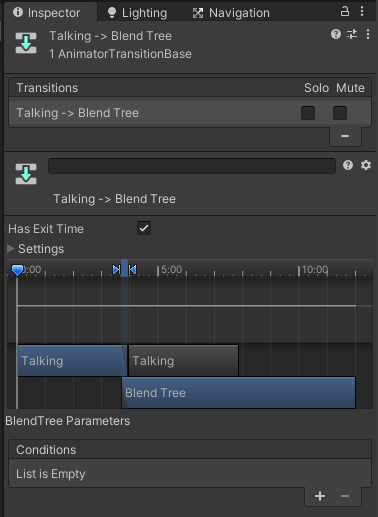
Click your Talking to Blend Tree transition line, and ensure Has Exit Time is checked:
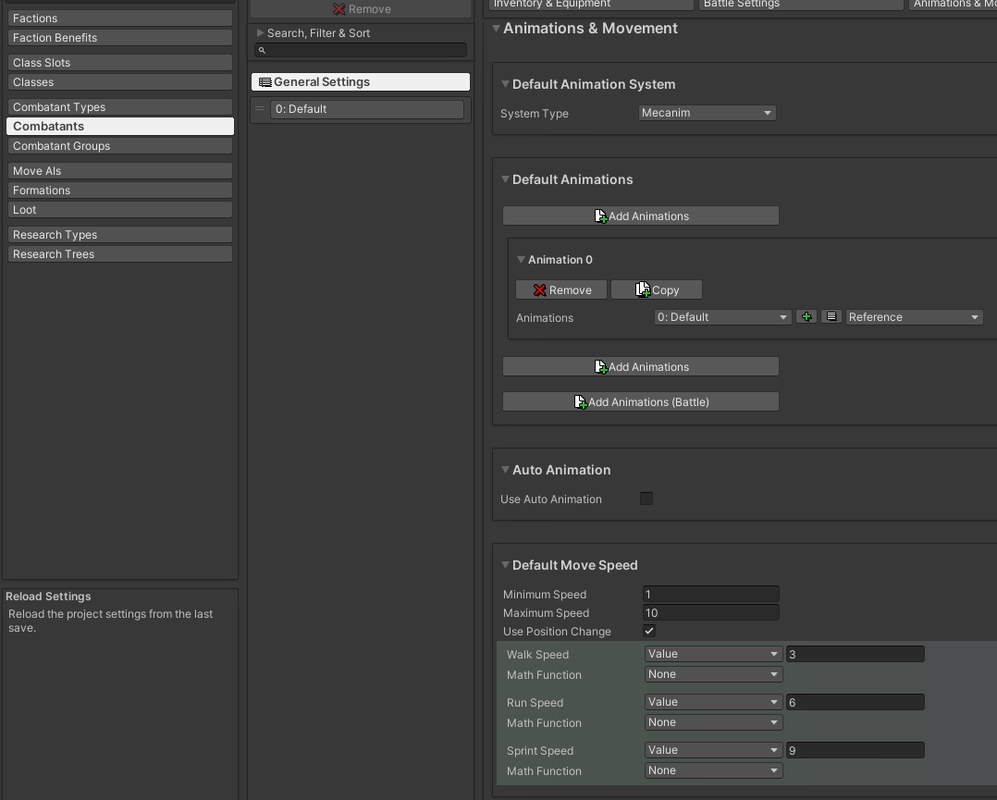
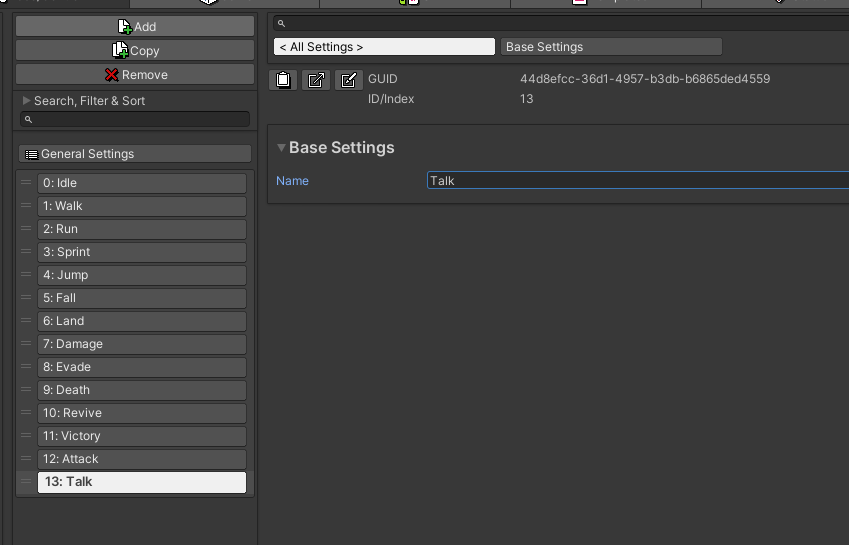
That's it for the animation controller. Go back into ORK and if it doesn't already exist, add a new animation type with your one shot:
Now under Animations in ORK, we need to add a Mecanim Animation and give it the state name Talking, along with changing Duration Type to Animation Clip. Click Add Parameter (Play) and input the Talk trigger name and set the Parameter Type to Trigger:
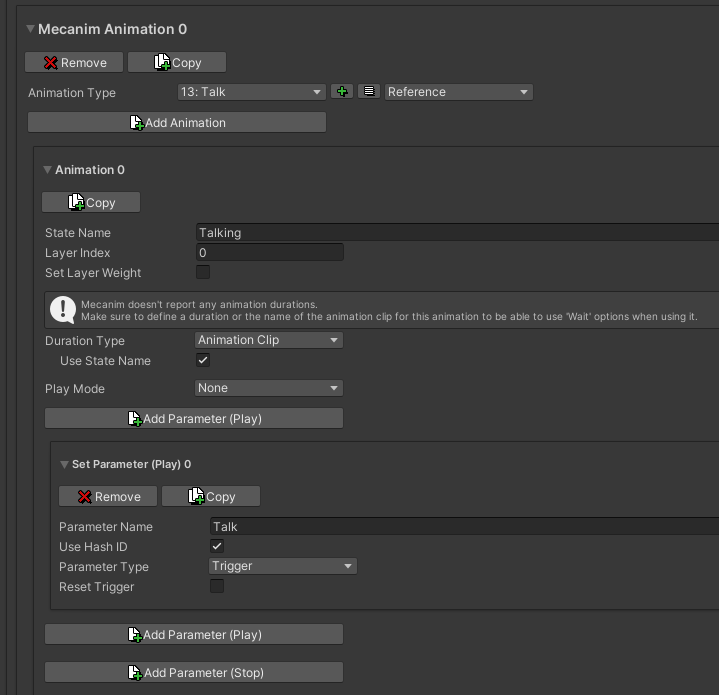
NOTE If your animation clip (under the FBX file itself) is not the same as your State Name (the box in the animator controller) then you need to uncheck Use State Name, and input the clip name or rename your animation clip in the fbx.
Now we need to use it.
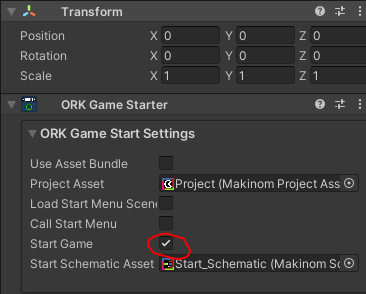
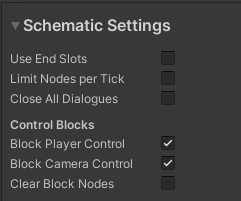
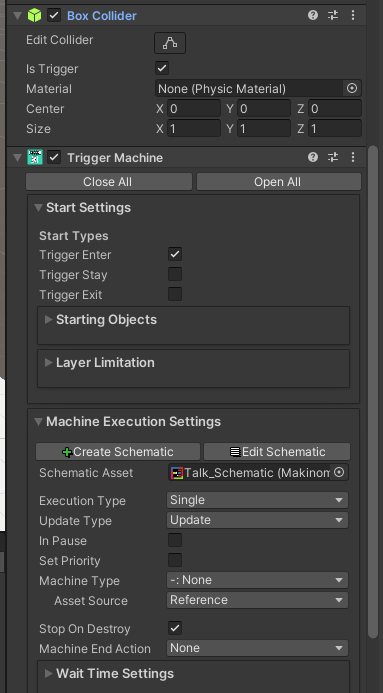
This example works best with dialogue schematics but since this is a bare-bones project, I'm just using a trigger machine on a cube. To test our Wait duration, block both the Player and Camera Control on the schematic:
Add the animation node:

Trigger machine for reference:
Now to test it:
Notice how we can't move until the entire animation has finished. Because of this, we know that Mecanim is correctly reporting the duration back (our clip + state names match) and the schematic is holding the block until finished. Tweaking the exit transitions is how you would ideally shift when/where this ends, rather than using the default as we are in this project.
This same concept will work with attacks, loot, etc.
Tutorial project: Here
DOES NOT INCLUDE ORK - You must download and import your own copy of ORK into the project to run this sample. This link only contains a Unity Project with a sample scene, mixamo animation and character, and the corresponding ORK settings. I do not recommend trying to import this package into your existing ORK project as data may be erased. This is best for using as a brand new project to reference.
---
2. Trigger And Loop Animations
This expands on the trigger animation above, by allowing for the animation to loop until we decide to exit from the animation.
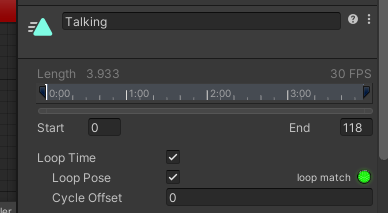
First, ensure that your animation is set to loop:
Create a new parameter, I went with "Hold_Animation" as it is something we can re-use across all of our looping one-shots:

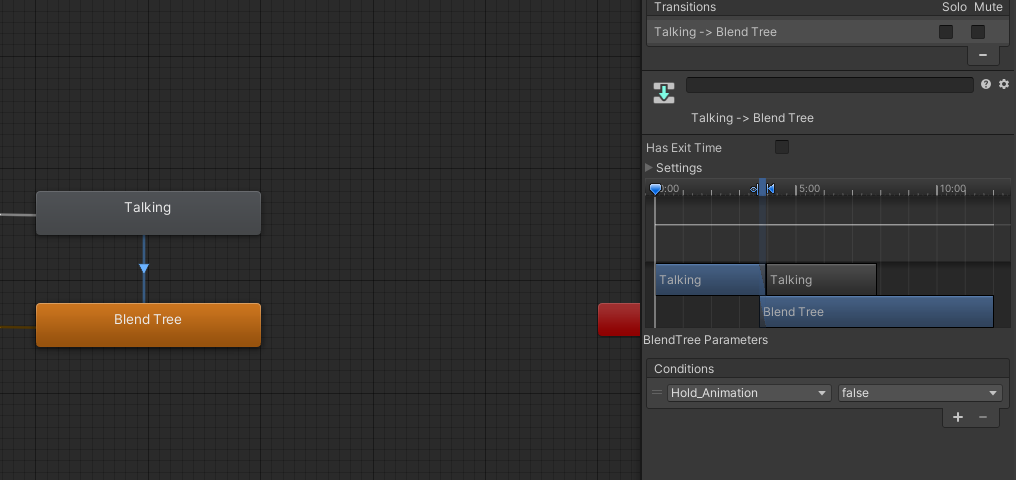
Modify the transition from your trigger animation to your idle by unchecking Exit Time and setting the new variable with a condition of False:
Time to open ORK. Add this new parameter into your previous Talk trigger (refer to tutorial above if you skipped) under both Play (set to TRUE / Value = Checked) and Stop (set to FALSE / Value = Unchecked).

Reusing the schematic from above, we need to make sure we remove the wait check on our Play node since we want it to keep playing while the schematic is running.
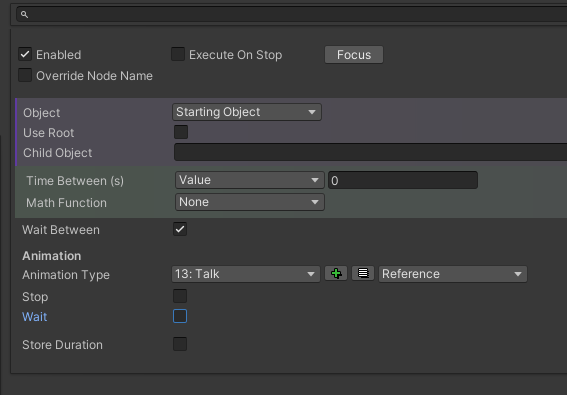
Now add a Stop Animation node (can just copy the play node and check Stop).
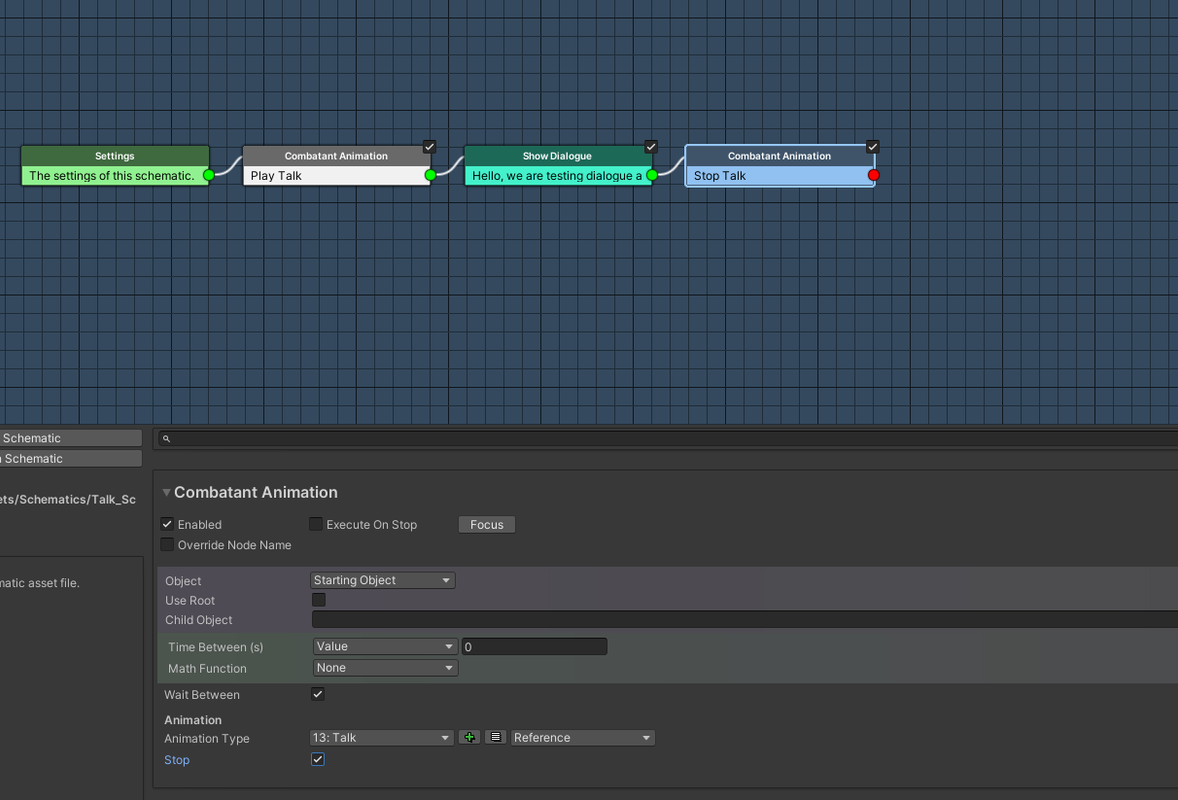
If you followed along, you should now see this when firing this dialogue animation:
Just add the Play and Stop animation nodes with your animation to all of your dialogue schematics, and you'll have the talk (or whatever animation) play while looping.
Tutorial project: Here
DOES NOT INCLUDE ORK - You must download and import your own copy of ORK into the project to run this sample. This link only contains a Unity Project with a sample scene, mixamo animation and character, and the corresponding ORK settings. I do not recommend trying to import this package into your existing ORK project as data may be erased. This is best for using as a brand new project to reference.